Creating an account
Sign-up takes about two minutes. Otnox uses email and password (no Google SSO, no email-confirmation step). You are signed in immediately after the form, and a 7-day Premium trial starts automatically.
1. Sign up
- Go to otnox.com and click Get started — or open
/registerdirectly (e.g.otnox.com/en/register). - Fill in the form:
- First name and last name
- Email (a work address is best — it determines your default workspace name)
- Phone
- Password (min 6 characters)
- Tick the Privacy Policy and Terms of Service checkbox.
- Click Register.

You are signed in instantly and the onboarding wizard opens.
The locale you sign up from sets your interface language and your default home market. Otnox detects your country from your IP and pre-fills it on the next screen. You can change either later in Settings.
2. Onboarding wizard (4 steps)
Your progress is saved between steps — if you close the tab, you resume on the same step next time you log in.
Step 1 — Country & company
Pick your country, then either search the public registry (currently available for Latvia) or click Enter manually and type your company name and city.

Step 2 — Target markets
Tick the markets you want to monitor. Your home country is locked in. Markets are grouped into Baltics, Europe and Africa, plus North America, Oceania and Asia in subsequent rows.

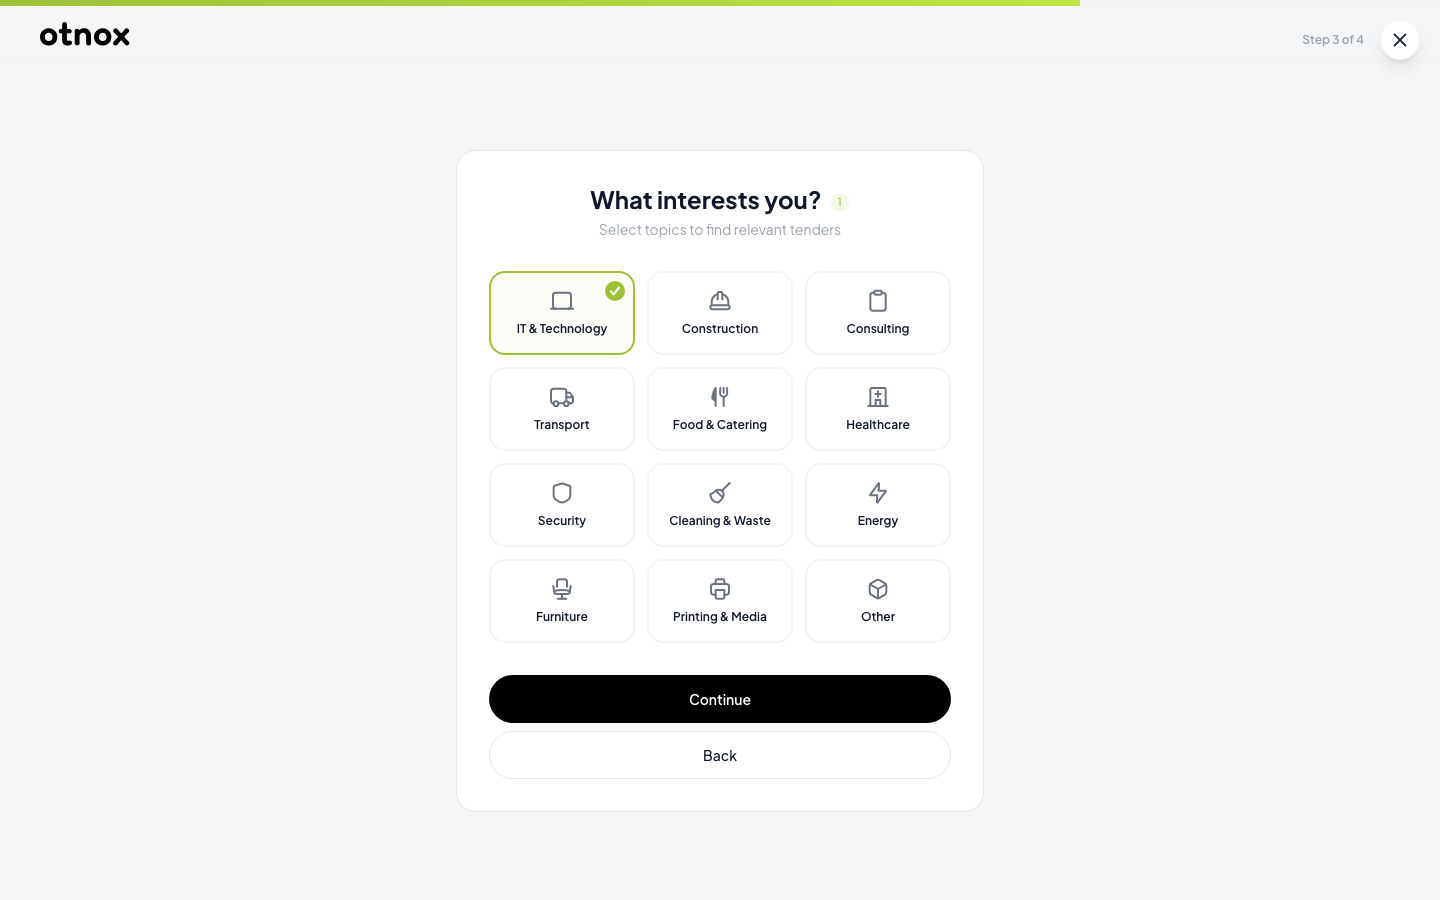
Step 3 — Industries
Pick the industries that describe what your company sells. Otnox uses 12 buckets such as IT & Technology, Construction, Healthcare or Logistics. CPV codes are derived automatically from the industry selection — you don't pick CPVs in onboarding, but you can fine-tune them later in Settings → Company.
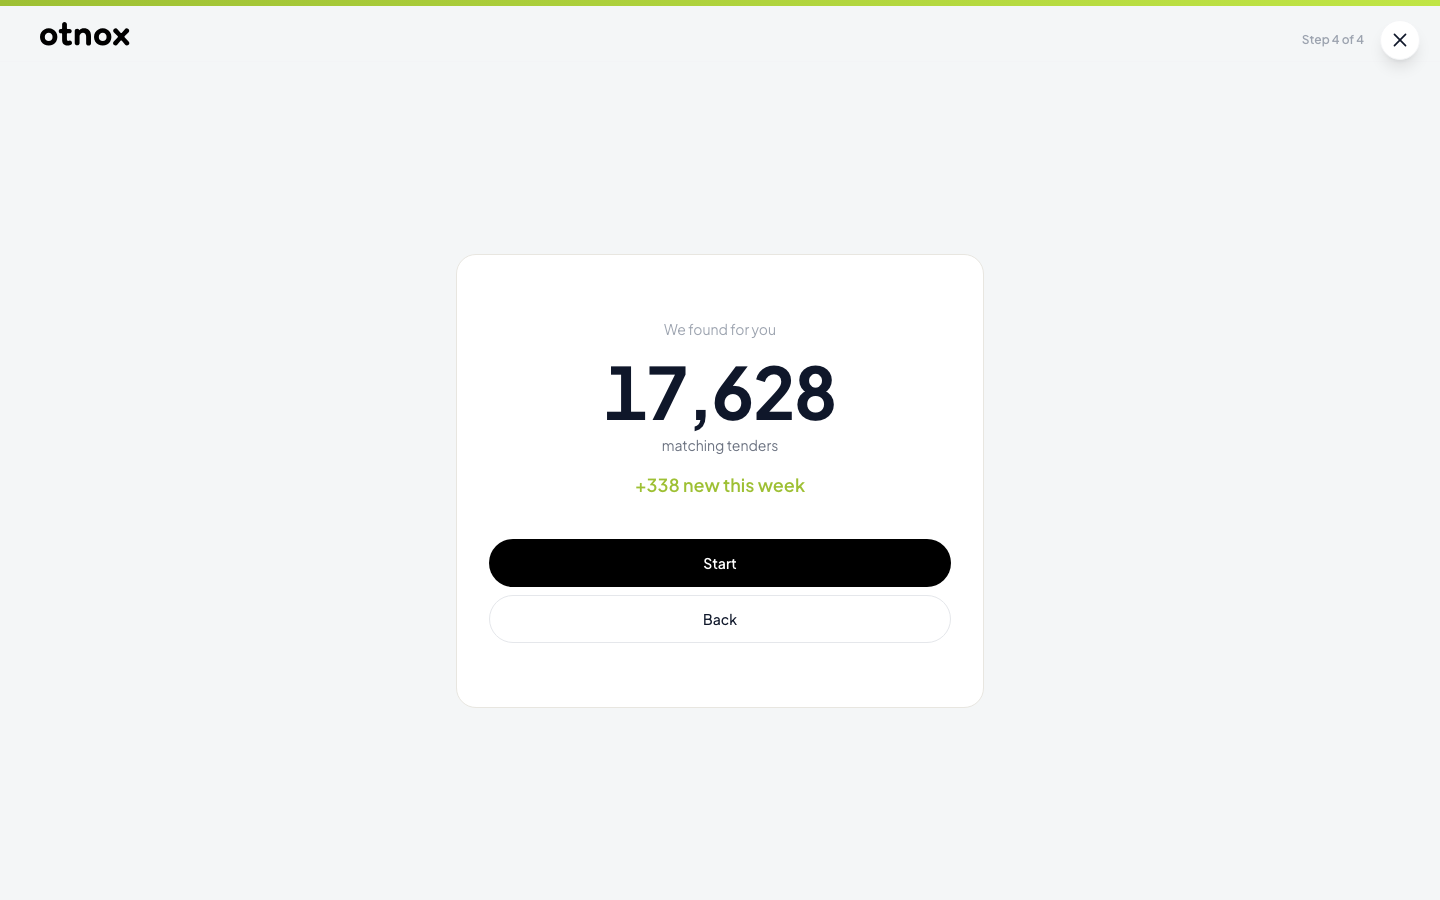
Step 4 — Summary
Otnox shows the matching tender count based on your country, markets and industries — a preview of what you'll see on the dashboard tomorrow morning. Click Start to enter the app.
What's next
- See the Dashboard overview for what each card on your homepage means.
- Set up your first monitor in Setting up monitoring.
- Learn how the AI relevance score is calculated.
- Trial & plan details live in Plan comparison.
- To invite teammates, see Team collaboration.