First 5 minutes
Five steps from a fresh account to a working procurement feed.
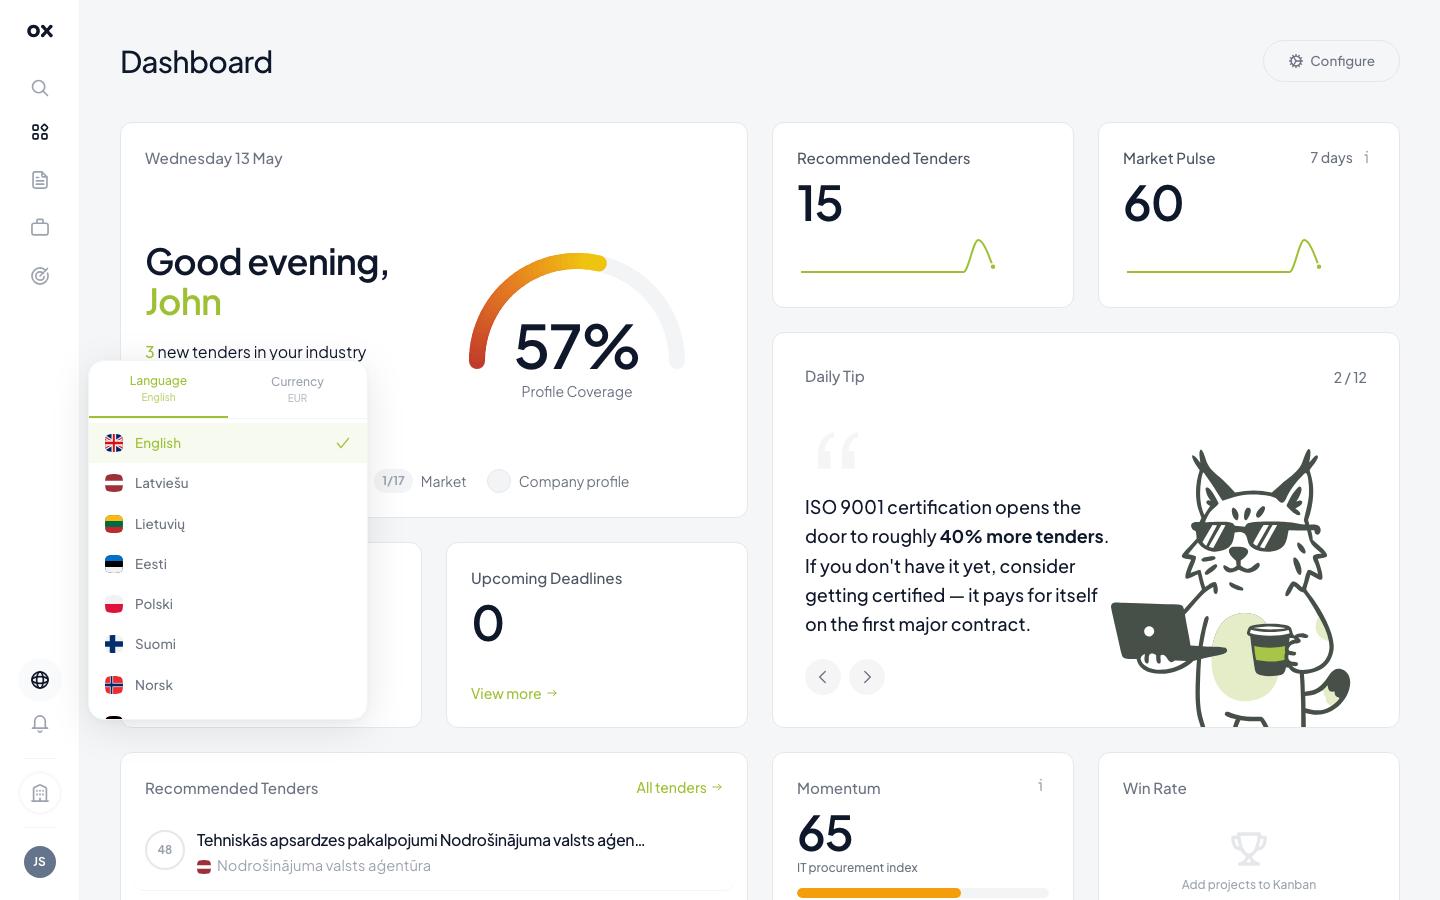
0. Pick language & currency (optional)
In the bottom-left of the navigation, the globe icon opens a panel with two tabs: Language (11 locales) and Currency. Both apply instantly across the whole app.
1. Finish onboarding
If you closed the wizard before completing all 4 steps, just go to Onboarding in the navigation — your progress is saved. The four steps:
- Country & company — your country and company info.
- Markets — which countries you want tenders from.
- Industries — what you sell. CPV codes are derived from this.
- Summary — a preview of how many tenders match your profile.
2. Skim the dashboard
Open Dashboard. The top row of cards summarises today's activity — new recommended tenders, market pulse, deadlines, monitoring stats. The table below shows your top matches.
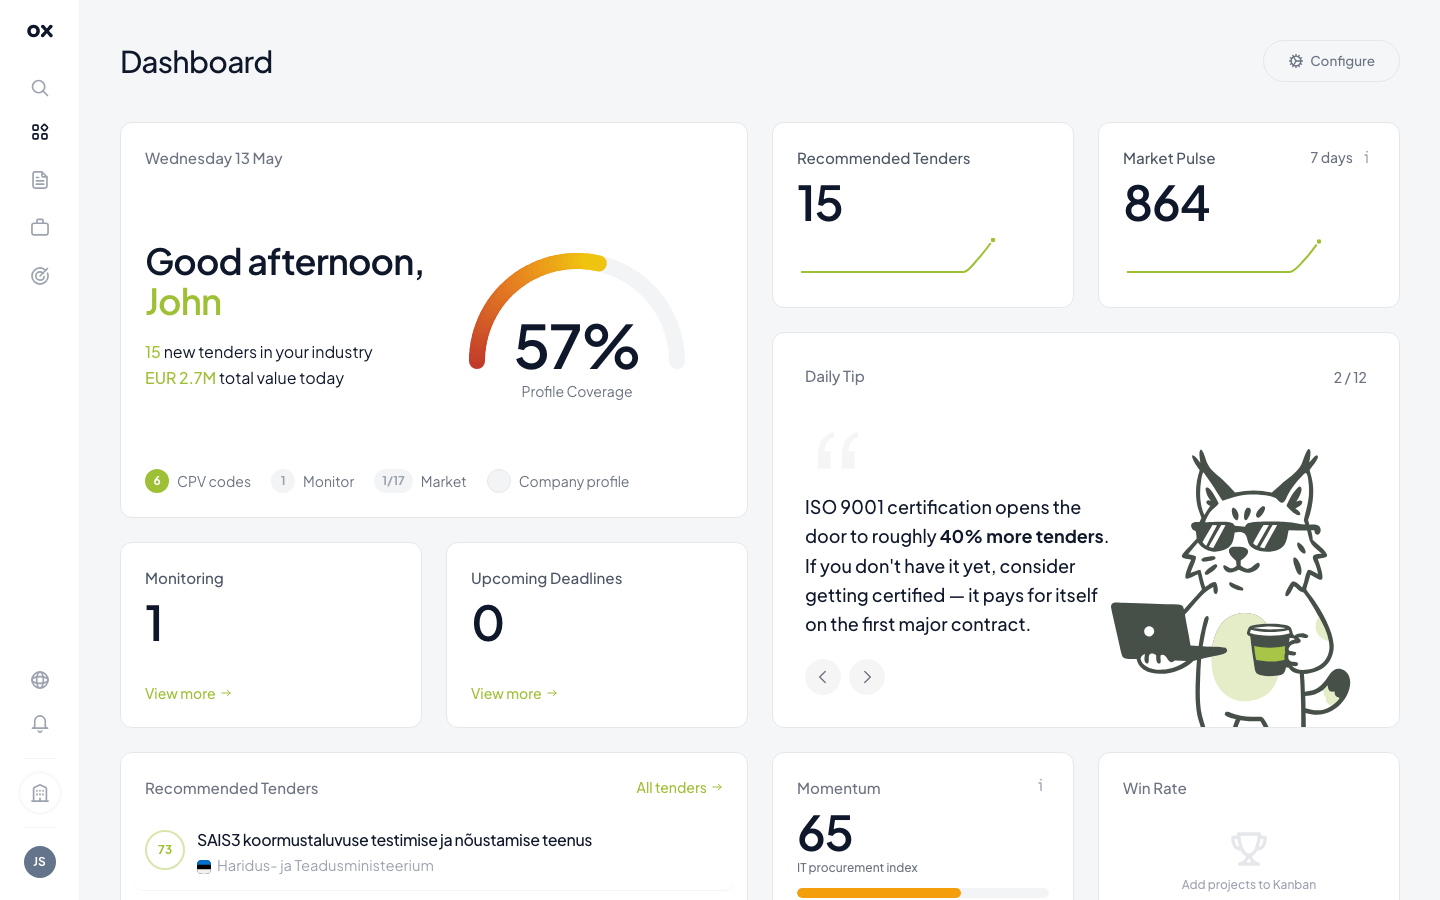
If a card shows zero, your profile is probably too narrow. Open Settings → Company and add more industries / CPV codes / markets.
3. Create your first monitor
Open Monitoring → Add monitor. The visual workflow builder opens — connect a Source node (your markets) → a Filter node (keywords or CPV) → a Send notification node (in-app, email, Telegram). Click Save to enable. See Setting up monitoring for the full walk-through.
4. Connect Telegram (optional)
For real-time alerts on your phone, go to Settings → Notifications,
click Connect Telegram, then open the suggested chat with
@otnox_bot and tap Start. Future monitor matches will arrive in
that chat. Full guide: Telegram integration.
5. Start your first application
Open any tender from the list. In the right panel click Add to project to create a card on your kanban board. Move it through the stages (Found → Evaluating → Preparing → Submitted → Won/Lost) as your work progresses. See Creating an application.
Done
That's it — a real monitoring loop with notifications, an active project pipeline, and a personalised dashboard. From here, polish your company profile to sharpen the AI relevance scores.