Creating an application
The Projects page in Otnox is a kanban board of applications — one card per tender you're working on, dragged through stages from discovery to win/lost.
Two ways to create an application
From a tender's detail card
- Open any tender from the Tenders list (or the dashboard).
- In the right-side action bar, click Add to project.
- Pick an existing board or create a new one.
The card is pre-filled with the tender's title, buyer, deadline, estimated value and CPV codes — no manual typing.
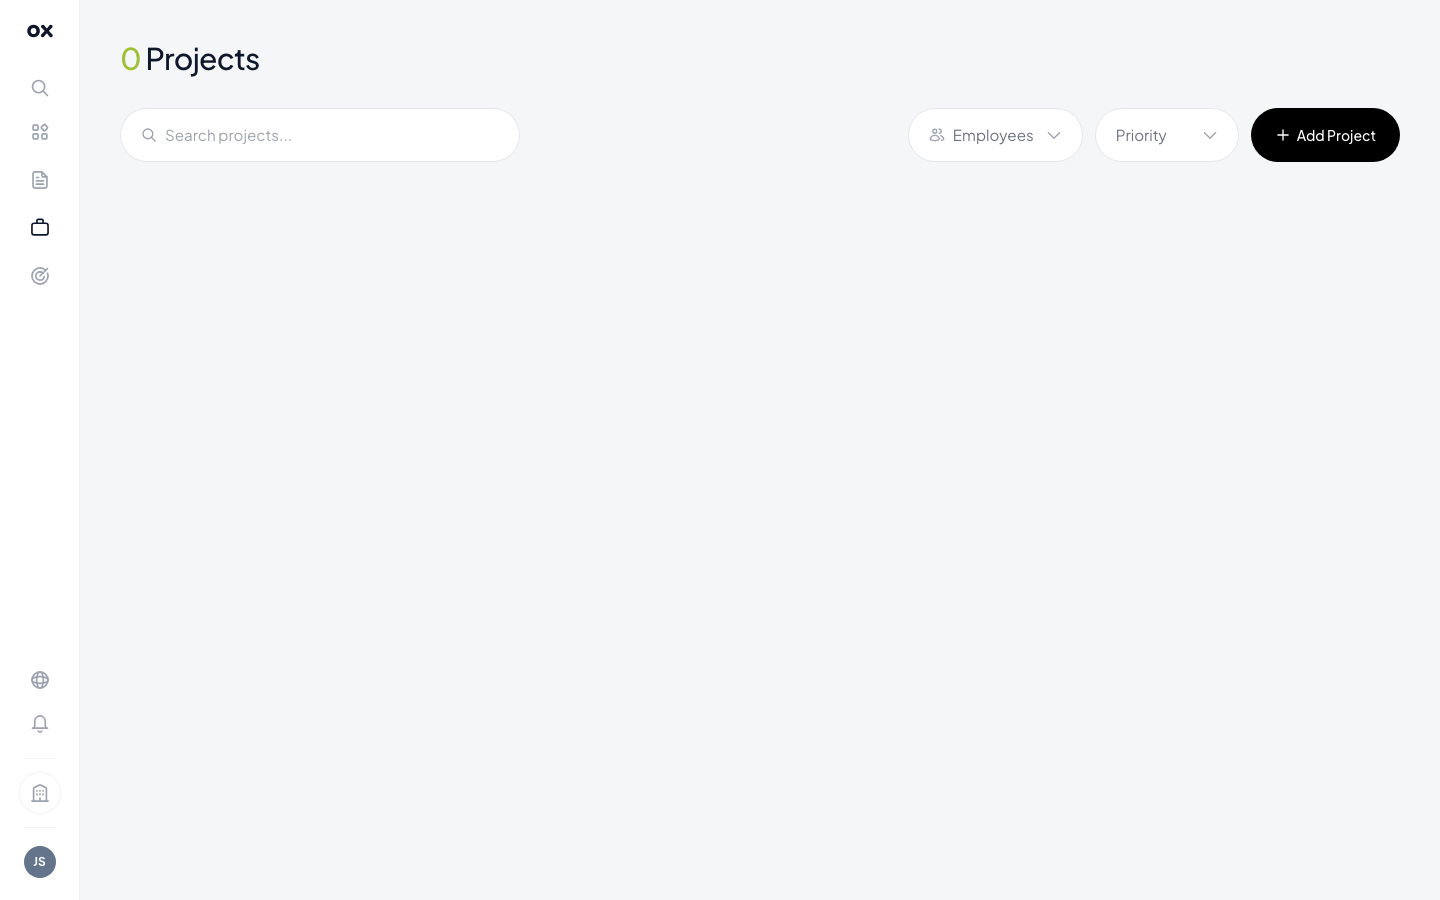
From the Projects page
- Open Projects from the navigation.
- Click Add application in the top right.
- Either link a tender via the search field, or enter the details manually.
- Pick the starting stage (usually
New / Found).
Card fields
Each application card tracks:
- Title — defaults to the tender title, editable
- Linked tender — clickable link back to the source tender card
- Stage — the kanban column the card sits in (drag-droppable)
- Priority — High / Medium / Low
- Assignee — one team member responsible
- Department — for company-wide pipelines
- Tags — free-form labels for slicing the board
- CPV — copied from the tender
- Deadline — submission deadline; cards near deadline get a red ring
- Notes — internal comments, links to drafts, gotchas
- Files — attach proposals, internal memos, signed PDFs
When to create one
tip
Create an application as soon as a tender catches your eye — even if you haven't committed to bidding. Having it in the pipeline ensures it doesn't slip past the deadline. You can move it to Lost with a "no-bid" note later if you change your mind.
What's next
- Kanban pipeline — the 6 default stages and how to customise them.
- Linking tenders — attaching multiple tenders to the same application, or moving an application between tenders.
- Team collaboration — assignees, comments and notifications.